This is actually Part 1 for my chenille history. I made my first chenille quilt for my dad when he was ill and recovering from surgery. He was always cold, and I could and can relate to that. So when I saw a chenille baby quilt at
QC I thought it looked pretty easy and really cozy. I bought the pattern and enough flannel to make a 36" x 45" with 4 layers. I took it all home and layed it out on the floor in the basement. I pinned it all together with safety pins to try and prevent too much shifting. Never having done one before I had no idea I had to get a thing called a walking foot for my machine. Imagine trying to stuff four layers of fabric through the machine, it wasn't pretty. Next day feeling frustrated I went back to
QC to see what I was doing wrong. "You need a walking foot" I was told. What is a walking foot? I don't remember how it was explained but I went to a sewing machine shop in town to buy one. Got my foot and went home to install it on my machine. Took me about 30 minutes to figure that out, but I got it and started on the blanket. Now I know I'm making it sound like I knew what I was doing, but I didn't. I took many trips with my machine and blanket to
QC on Friday nights when we could go in and get help with our projects. I eventually got it all sewed. Next came the part where you cut between the sewed lines. For four layers you cut through three of them all the lines. That took a long time and my hand would get very tired. I had to take many breaks to give my hand a rest. After all the lines are cut I then sewed the binding on. Again, not knowing what to do I took it, my machine, and the material I used for the binding, went to
QC yet again and got help with that. In the end I think the quilt turned out pretty good. Dad liked it a lot and used it all the time.
Here are a few pictures of Dad's blanket.
This is the front. You'll see that I did 3 lines running down the center both directions.
I discoverd later that this was not a good idea. After washing it, you'll see it all frays out to get that nice soft fluffy look. The vertical and horizontal lines however are coming apart. The threads were cut with the grain of the fabric and the threads are coming out. I chalk that up to a lesson learned.
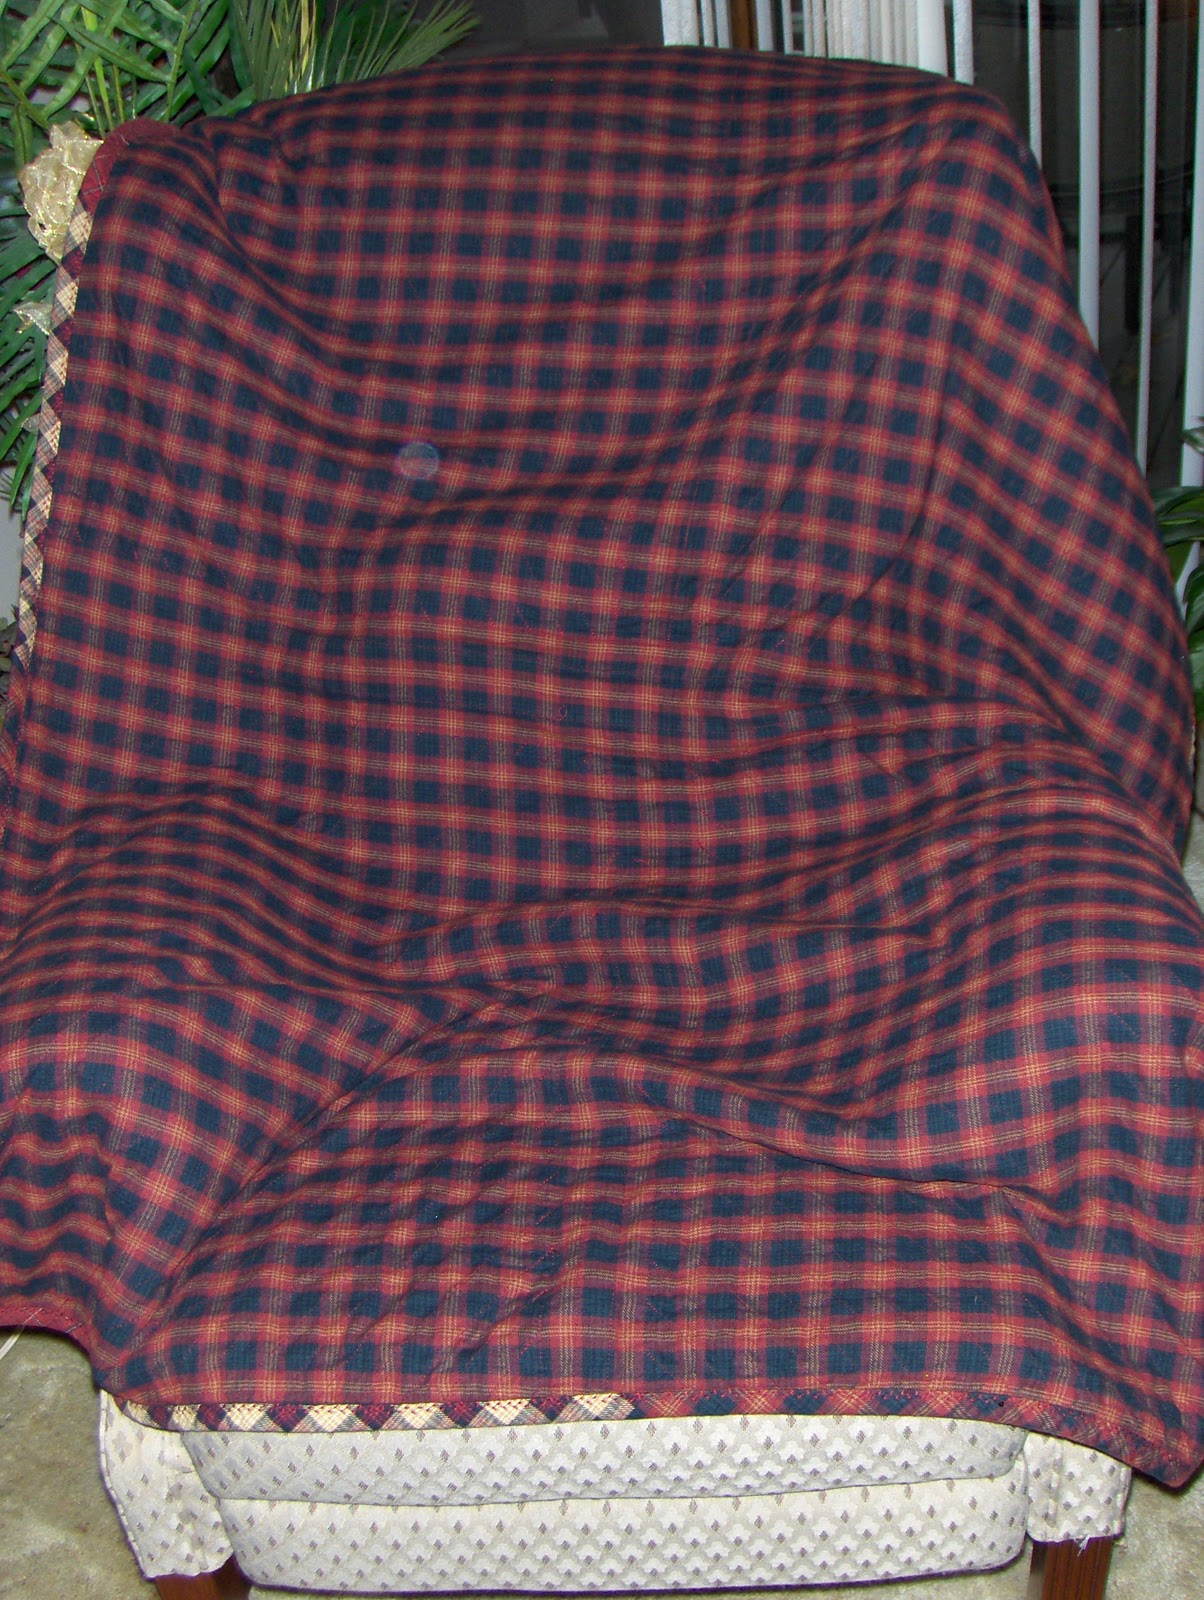
This next picture is the back layer. I chose several nice bergandy and black plads. It's very manly looking.
I really like making these kinds of quilts. Believe it or not they are really easy -- just very time consuming.
A couple more photos of Dad's blanket.
Tune in next time when I post photos of the one I made for mom. It is totally different.